Summer Note
Summer is tough on new seed. If you're in a cool-season zone, hold off until fall for the best results. Warm-season grasses like Bermuda and Zoysia can still be planted now.
Shade solutions for hot monthsWhat Is Pre-Germination?
Pre-germination is the process of soaking grass seed in water until the first root tip (radicle) breaks through the seed coat — before the seed ever touches soil. It front-loads the hardest part of germination in a controlled environment (a bucket of water in your garage) so that your seed hits the ground already "switched on" and ready to root immediately.
With normal seeding, the seed must absorb moisture, break dormancy, and germinate entirely in the soil over days or weeks. Soil conditions, temperature swings, and inconsistent watering can slow or stall this process. Pre-germination removes all of those variables from the equation.
The payoff is enormous for slow-germinating species like Kentucky Bluegrass, which normally takes 14-30 days — pre-germination compresses that to 3-7 days. For Tall Fescue, the benefit is more modest (saves 2-4 days), but still valuable when timing is tight.
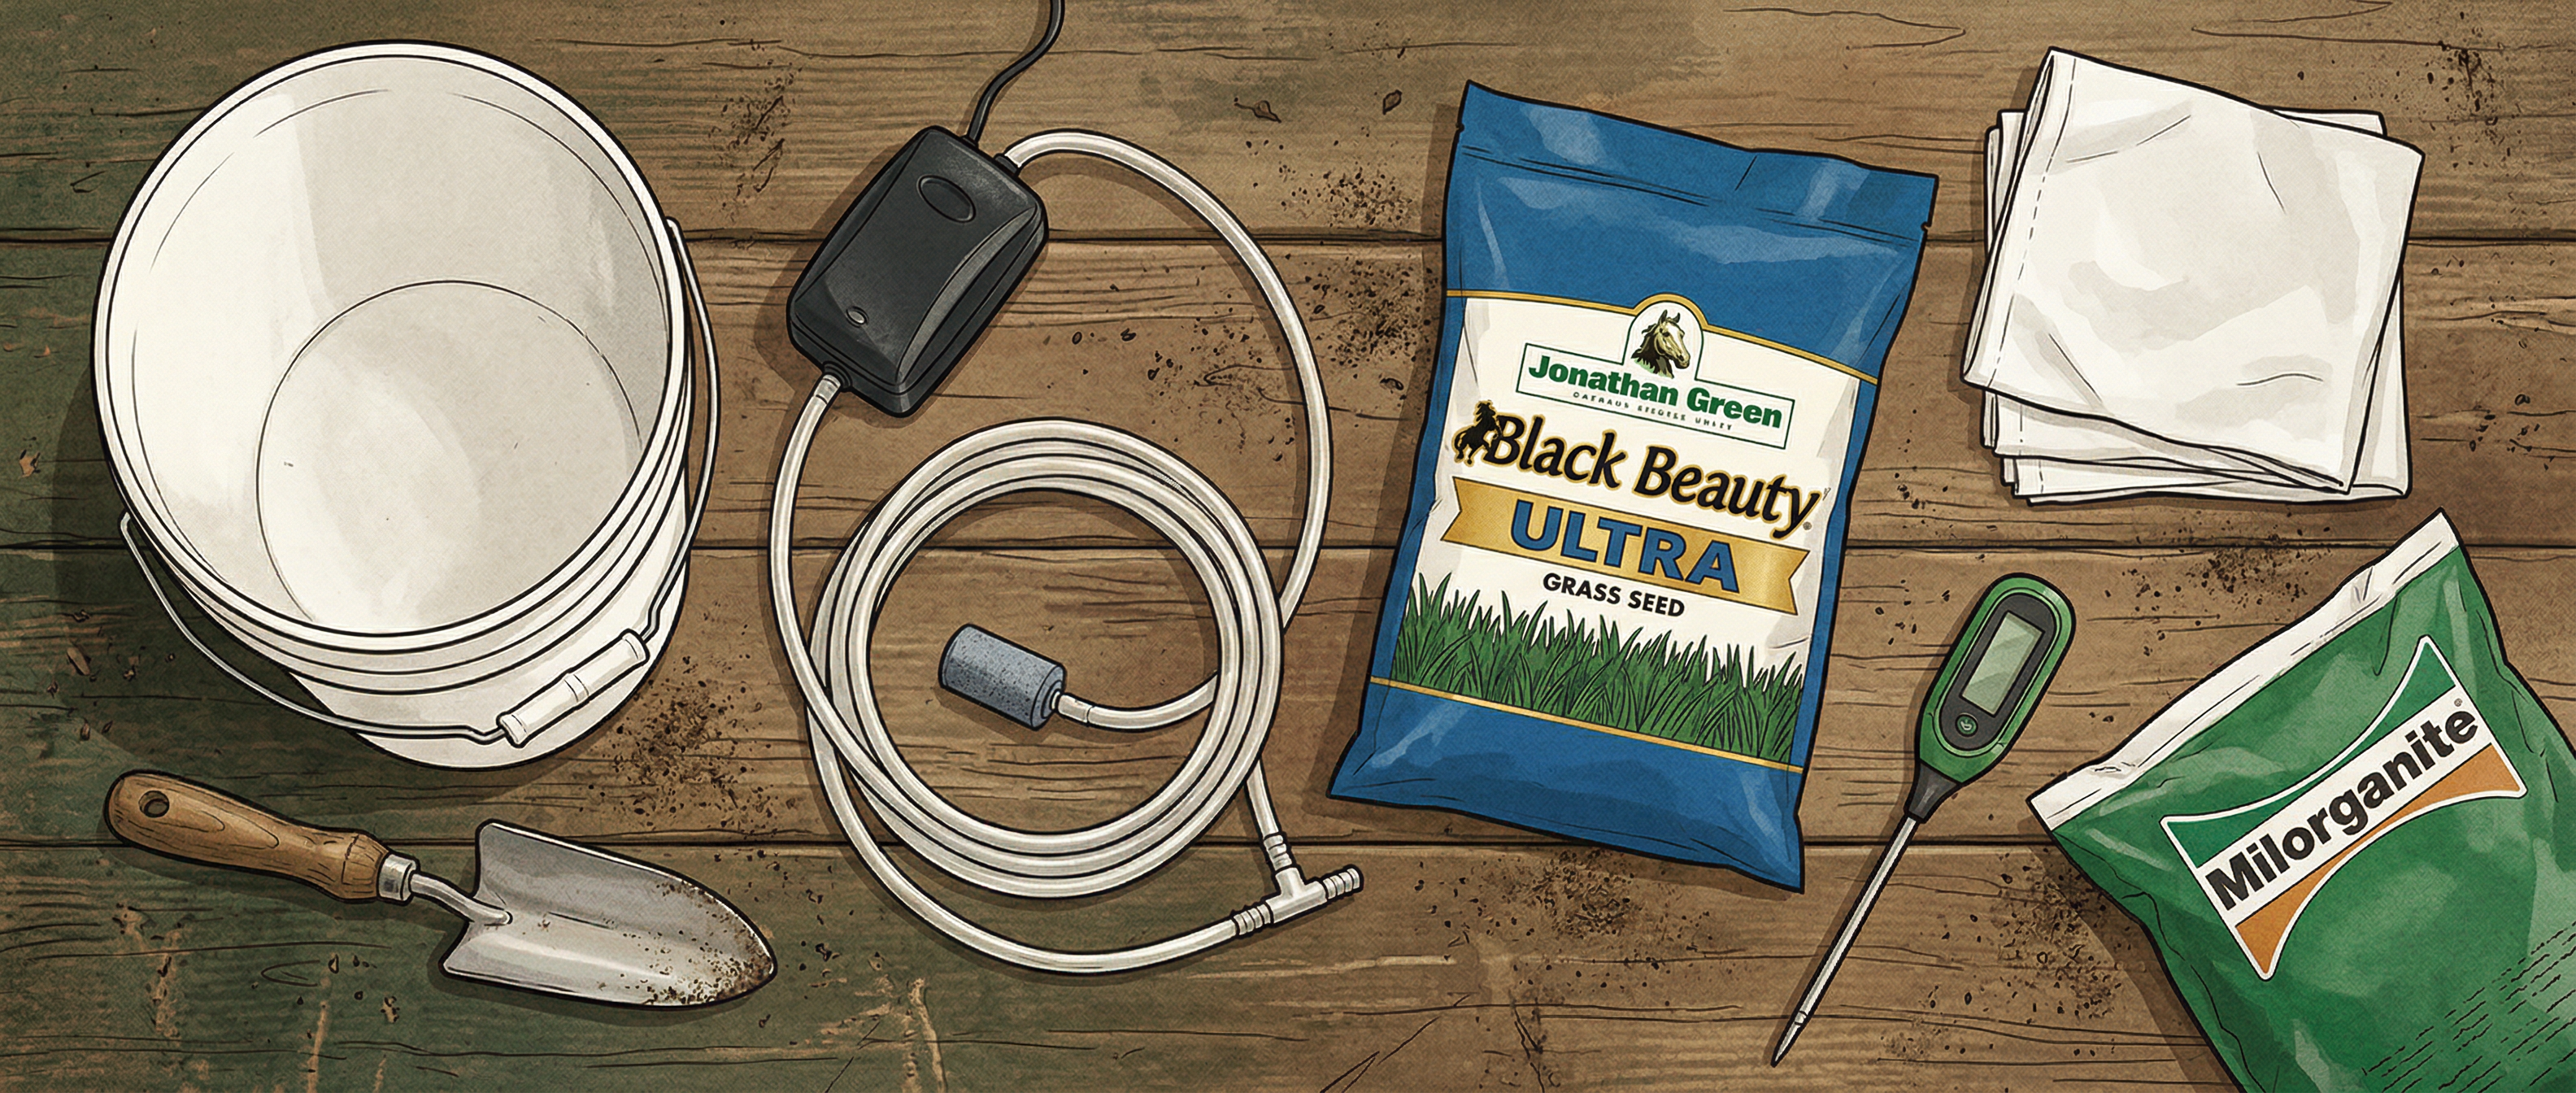
What You'll Need
The entire setup costs $25-60 depending on whether you use the basic bucket method or the recommended bubble method. Most items are reusable season after season.
Bucket
5-Gallon Food-Grade Bucket
BPA-free HDPE plastic bucket with lid. The foundation of any pre-germination setup.
Strainer Bags
Paint Strainer Bags (10-pack)
Nylon mesh bags that fit inside a 5-gallon bucket. Makes draining seed effortless.
Aeration
Aquarium Air Pump Kit
Pump, air stone, and tubing for the bubble method. Keeps water oxygenated and prevents seed death.
Thermometer
Digital Aquarium Thermometer
Monitor water temperature during soaking. Target 65-75 degrees F for optimal results.
Carrier
Milorganite Fertilizer (32 lb)
The go-to carrier for spreading wet seed. Mix 4 parts Milorganite to 1 part seed by weight.
Spreader
Broadcast Spreader
Walk-behind spreader for even distribution. Always do a test pass on the driveway first.
Pro Tip
Already have most of this? The only items truly essential are a bucket, paint strainer bags, and your grass seed. The air pump is a $15-20 upgrade that meaningfully improves results — especially for KBG.
Step-by-Step Process
This guide covers the bucket-and-bubble method — the approach used by golf course superintendents and athletic field managers, adapted for home use. The entire process takes 2-5 days depending on your grass species.
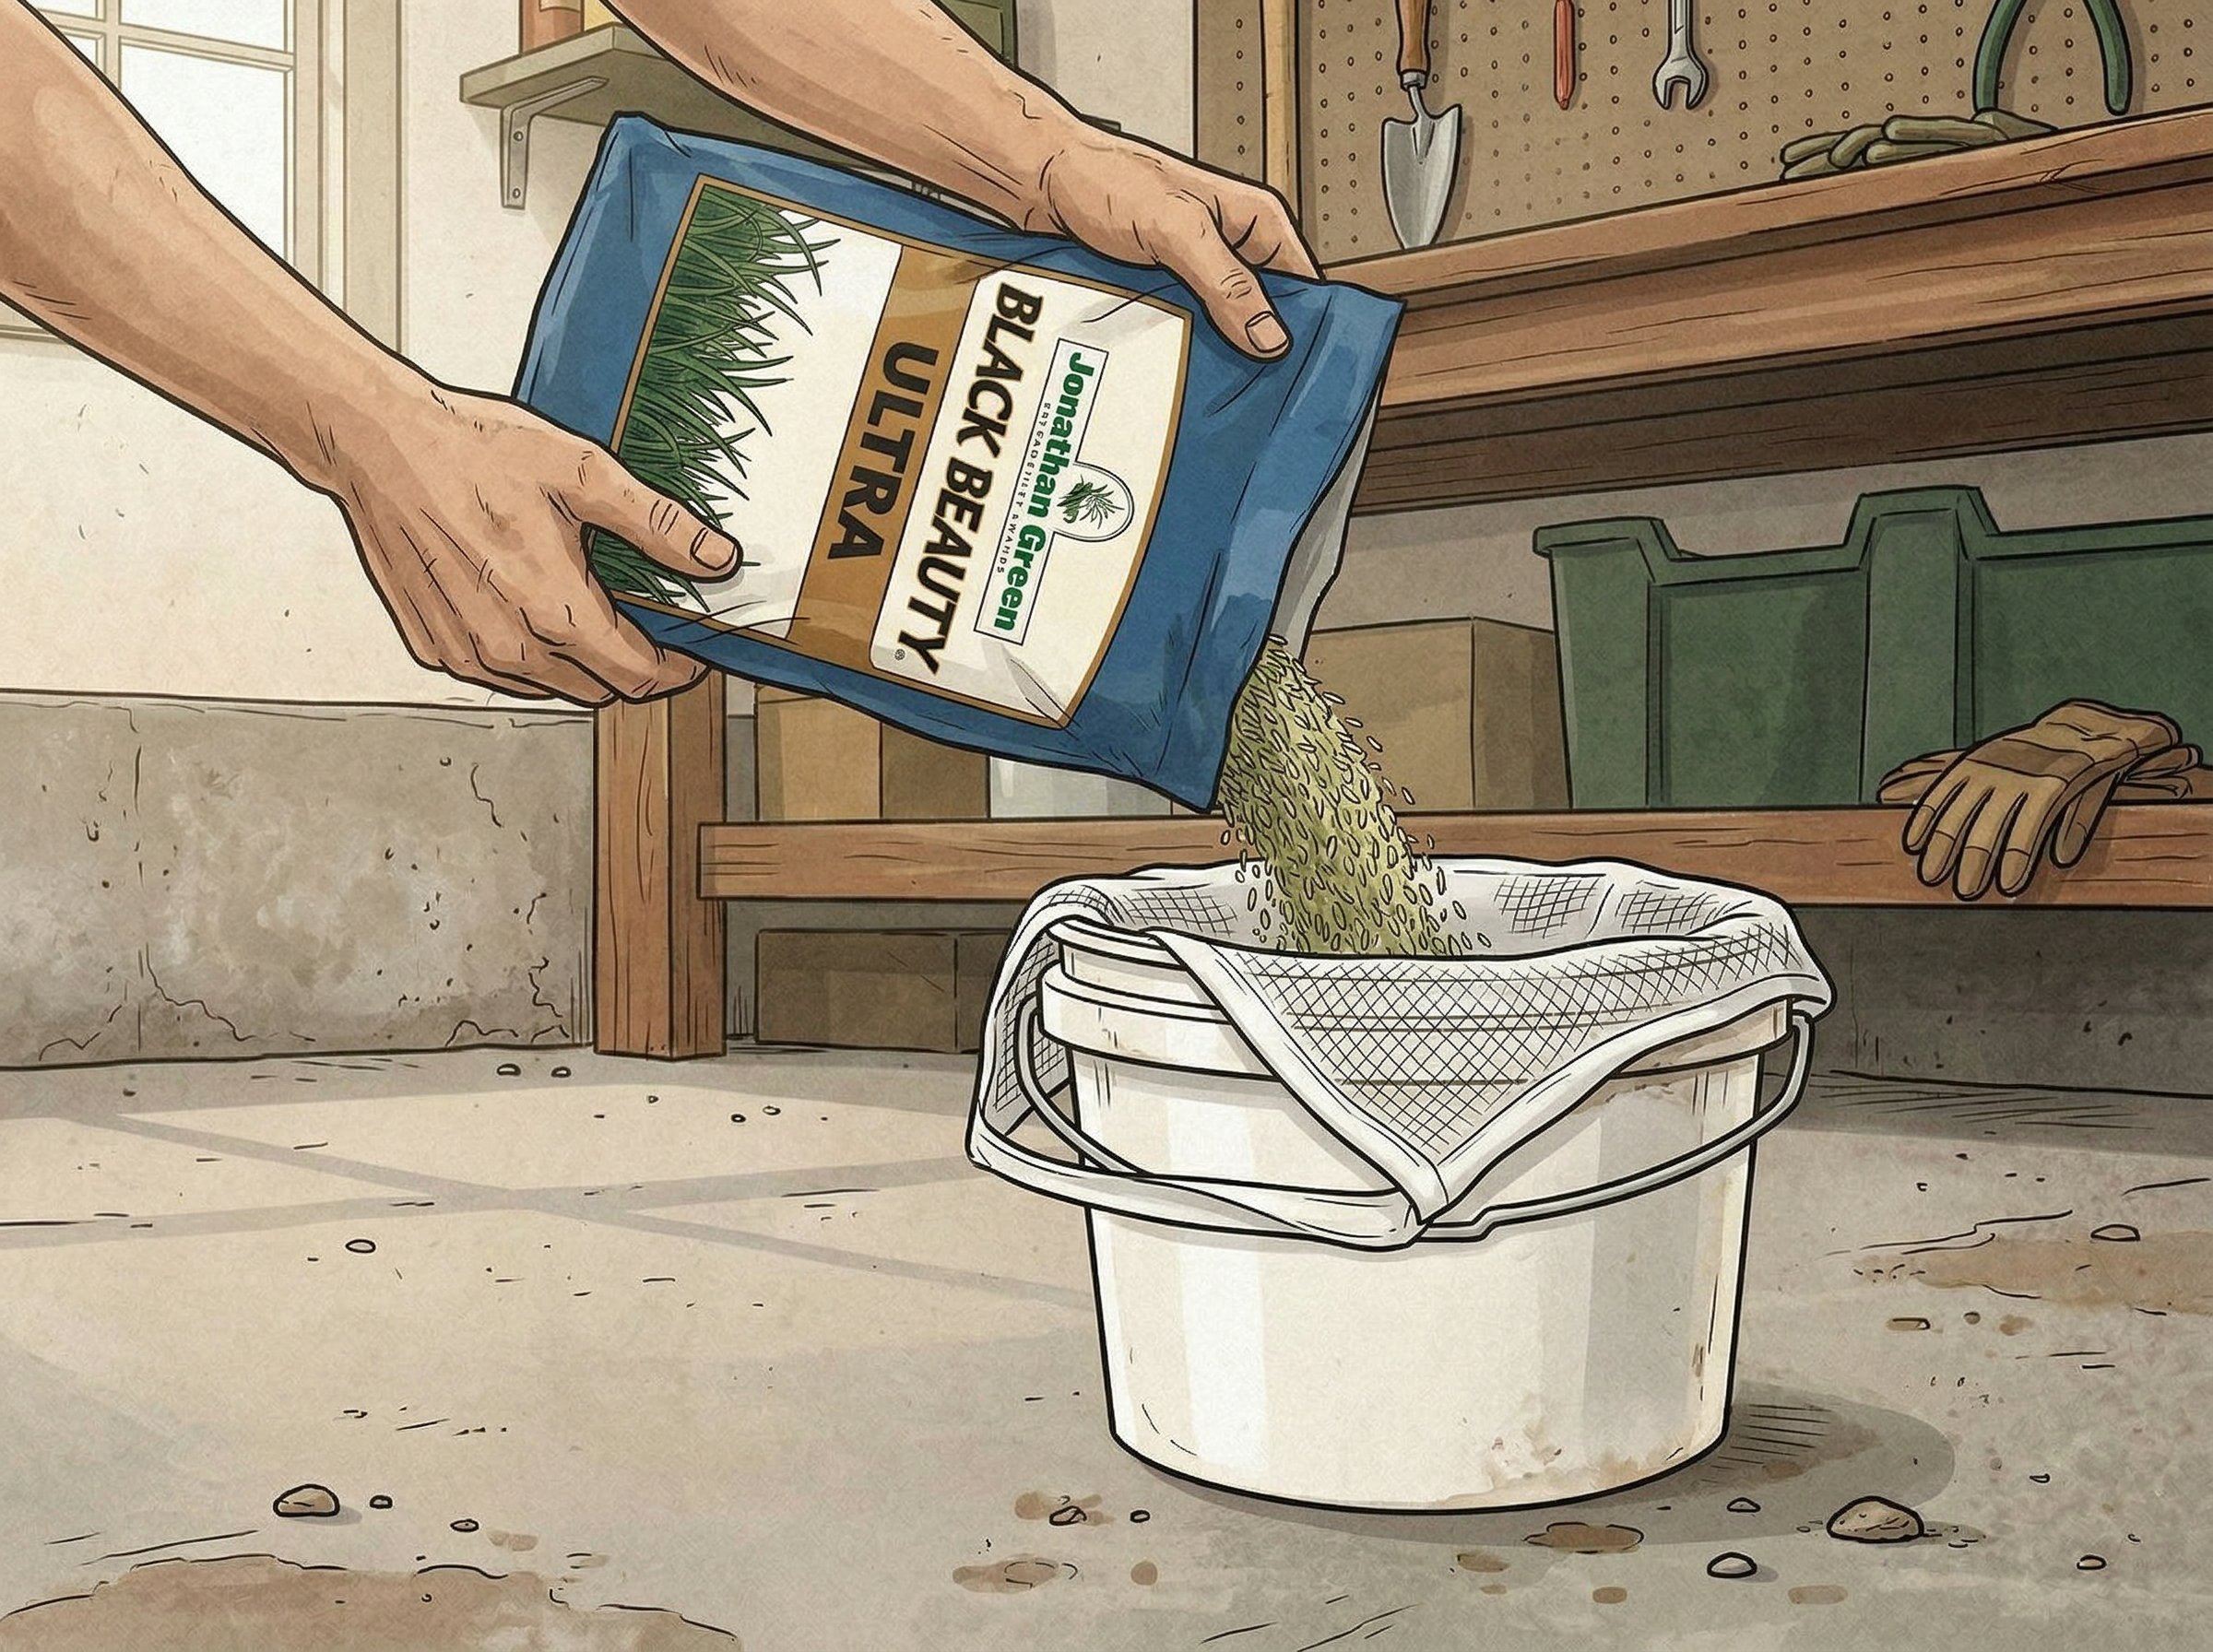
Step 1: Prepare Your Seed and Bucket
Measure out your seed and place it inside a paint strainer bag. Tie or rubber-band the opening closed. Fill a 5-gallon bucket with enough room-temperature water (65-75°F) to fully submerge the bag — roughly 2-3 parts water to 1 part seed volume.
If the bag floats, weigh it down with a clean rock or heavy object. Place the bucket in a dark location at room temperature — a garage, basement, or closet works perfectly.
Change the water every 12 hours. Pull the bag out, dump the old water, rinse the bucket, refill with fresh room-temperature water, and re-submerge. This flushes out germination inhibitors (abscisic acid) — it is literally what makes pre-germination work.
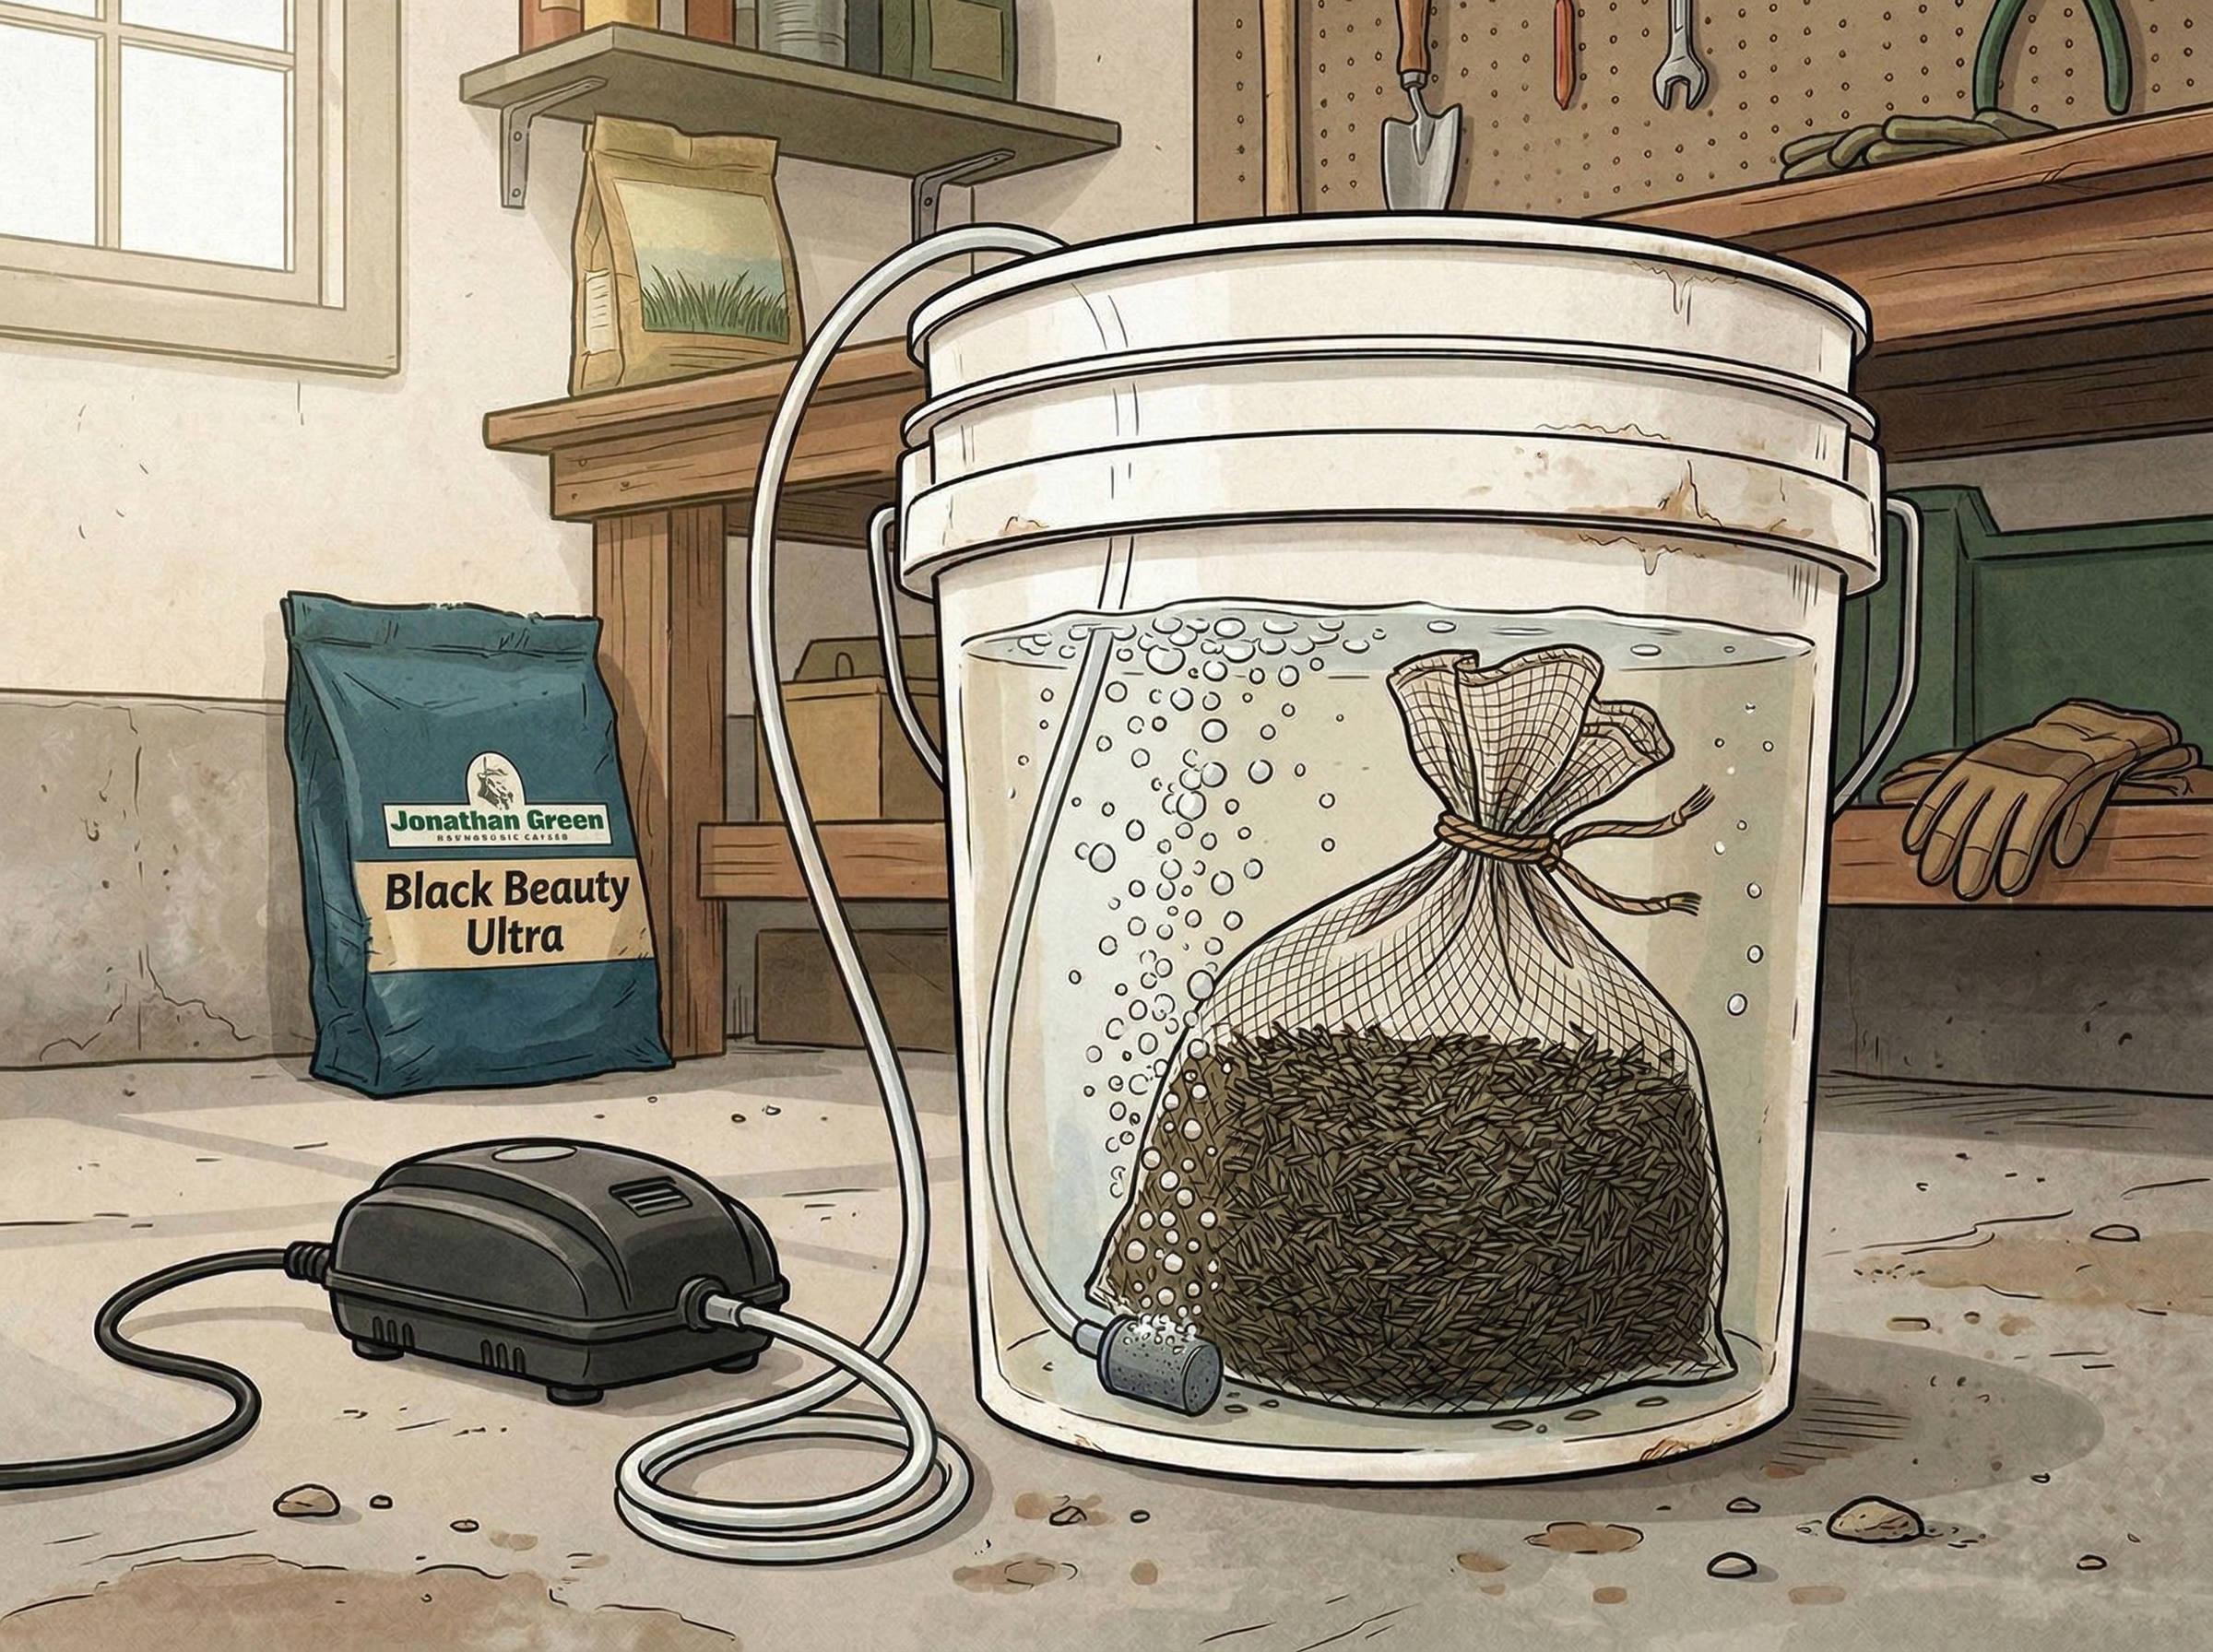
Step 2: Set Up Aeration (Recommended)
For the best results, drop an air stone connected to an aquarium air pump into the bottom of the bucket. Turn it on and run it continuously — you should see a steady stream of bubbles rising through the water.
The bubble method keeps water oxygenated (preventing seed death from anaerobic conditions), agitates the water to leach germination inhibitors faster, and gives you insurance if you forget a water change.
Research shows aerated soaking produces a 10% reduction in mean germination time for KBG and a 20% reduction for perennial ryegrass compared to still-water soaking. This is the method golf course superintendents rely on.
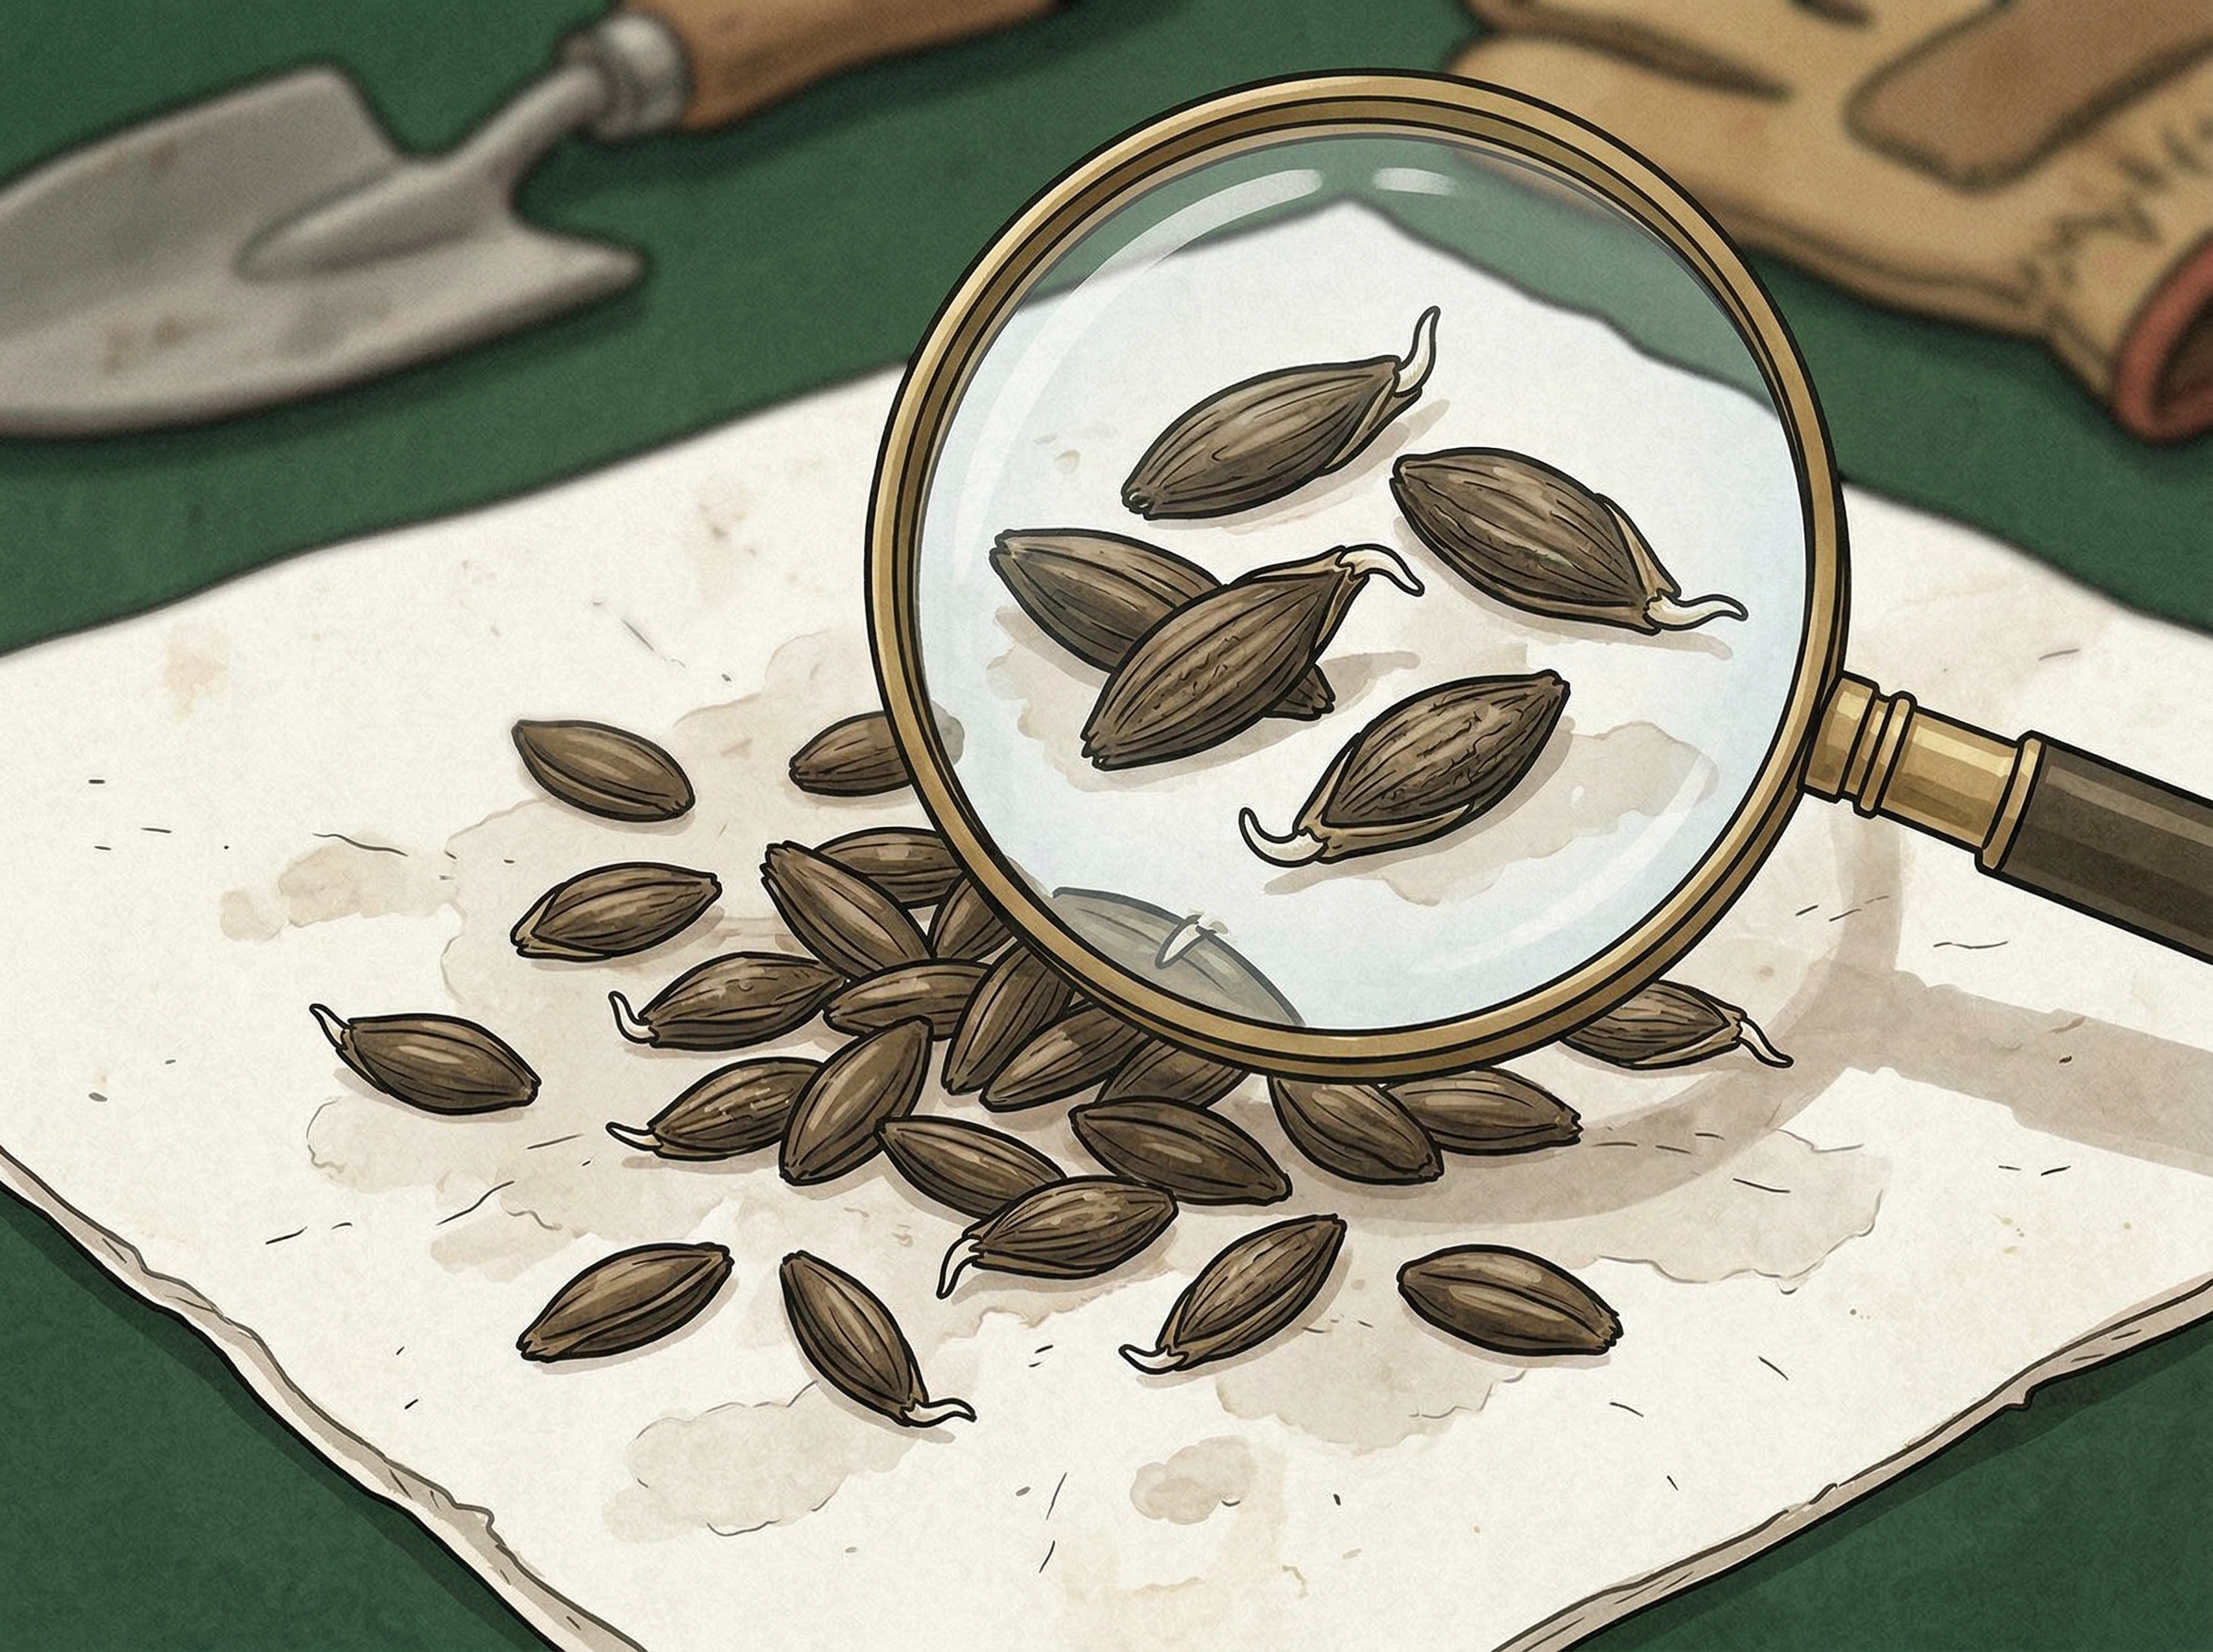
Step 3: Watch for Radicle Emergence
Check your seeds daily starting at Day 2 (TTTF) or Day 3 (KBG). You are looking for tiny white root tips — called radicles — just barely pushing through the seed coat. This appears as a small white thread or "fuzz" at one end of the seed.
Stop as soon as you see the first white tips. Do not wait for longer roots. The longer you wait, the more tangled and unspreadable the seed becomes. For TTTF, expect radicles by Day 2-3. For KBG, expect them around Day 5. Drain the bag and let it drip for a few minutes.
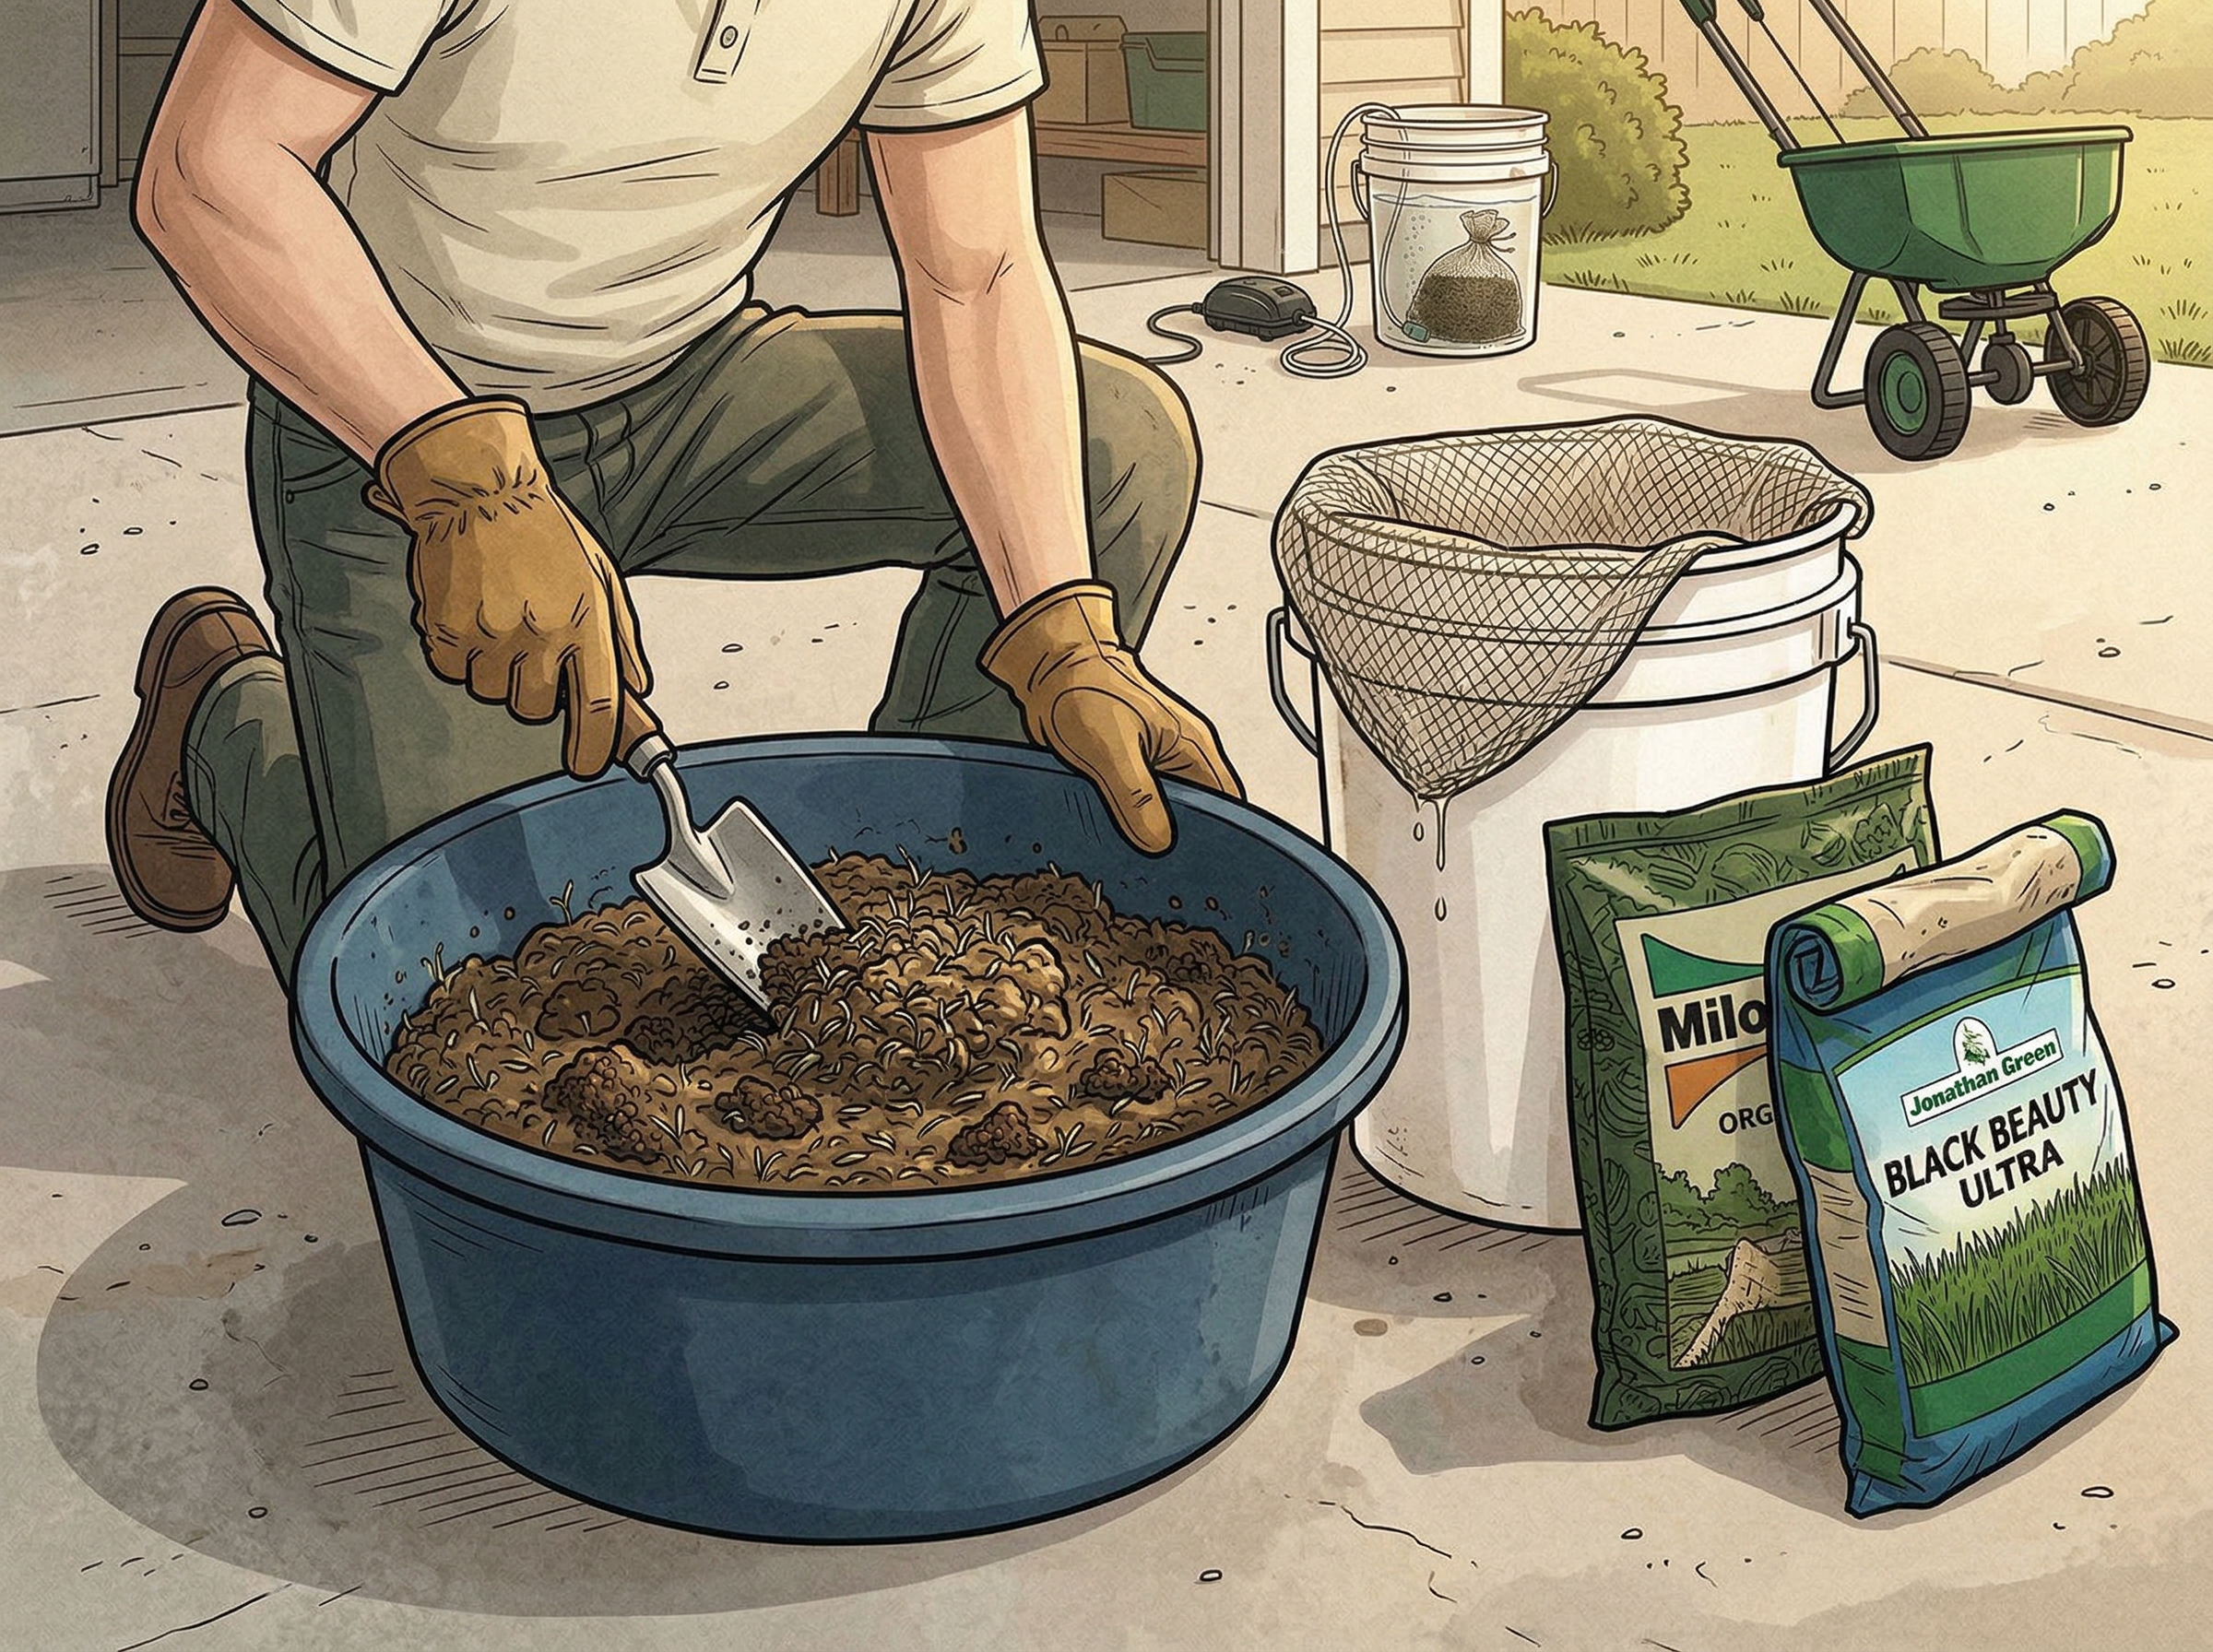
Step 4: Mix with Carrier and Spread
Wet seed clumps together and will clog a spreader. The fix: mix with a dry carrier material before spreading. The community standard is 4 parts Milorganite to 1 part seed by weight. Dry play sand also works.
Gently combine the damp seed and carrier in a bucket, mixing by hand to coat seeds without snapping the delicate radicles. Load the mixture into a broadcast or drop spreader.
Do a test pass on your driveway first to check the spread pattern — wet, carrier-mixed seed flows differently than dry seed. Adjust your spreader settings before hitting the lawn.
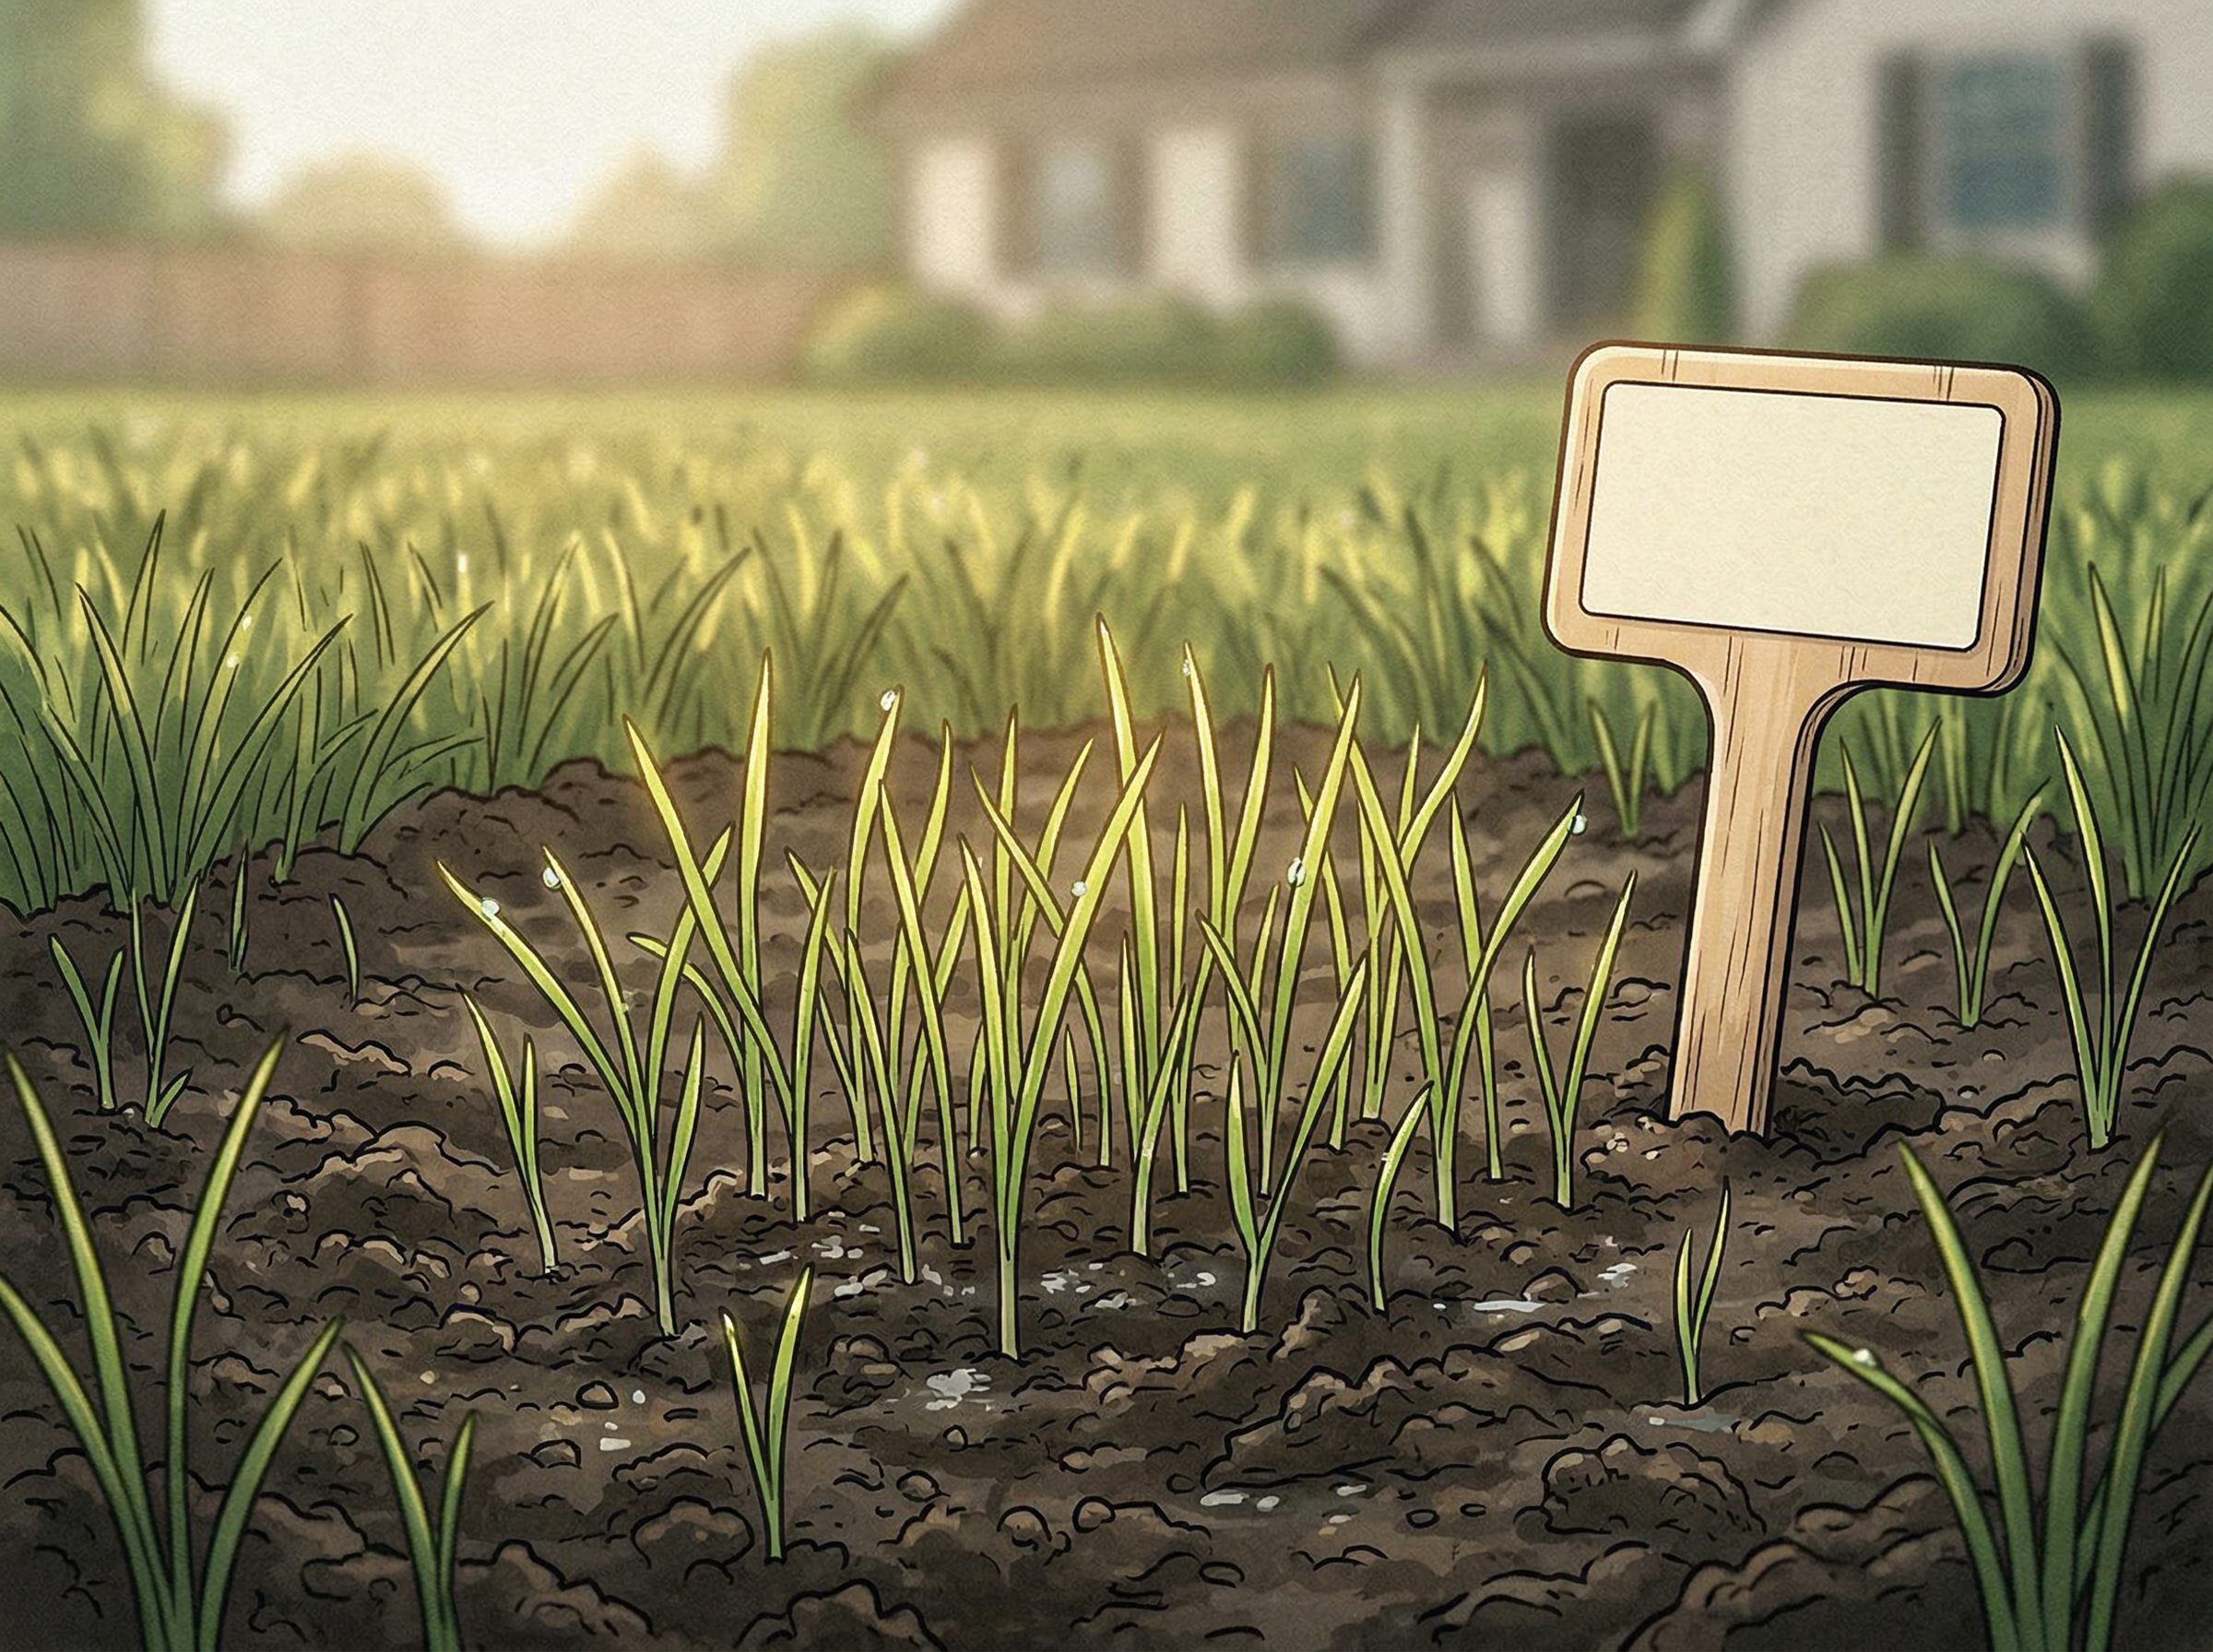
Step 5: Keep Moist and Watch It Grow
After spreading, lightly rake the seed in (do not bury deeply — radicles need to be near the surface) and water immediately. Consider covering with a thin layer of straw mulch to retain moisture and protect from bird predation.
This is the most critical stage. Pre-germinated seeds are extremely vulnerable to drying out — the exposed radicle has no protective seed coat anymore. Light, frequent watering (2-3 times daily for 5-10 minutes) is essential for the first two weeks until the seedlings establish.
Warning
Once radicles emerge, the seeds must go into the ground immediately. There is no "hold" option — delay kills the exposed embryo. Plan your seeding day before you start soaking. Check the weather forecast and have your soil prepped in advance.
TTTF vs KBG: Key Differences
The two most popular cool-season grasses respond very differently to pre-germination. KBG benefits dramatically; TTTF benefits modestly. Here is a side-by-side comparison.
| Factor | Tall Fescue (TTTF) | Kentucky Bluegrass (KBG) |
|---|---|---|
| Normal germination | 7-14 days | 14-30 days |
| With pre-germination | 5-10 days | 3-7 days |
| Time saved | 2-4 days | Up to 3 weeks |
| Optimal soak duration | 1-3 days | 5 days |
| Water temperature | 65-75°F | 65-75°F (68°F optimal) |
| Aeration benefit | Minor | Moderate (10% MGT reduction) |
| Seeding rate | 6-8 lbs / 1,000 sq ft | 2-3 lbs / 1,000 sq ft |
| Community verdict | "Nice but not necessary" | "Almost essential for fall seeding" |
Pro Tip
If you are seeding a TTTF/KBG blend, stagger your soaks. Start the KBG on Day 1 and add the TTTF on Day 3. Both will be ready to plant on Day 6. If using a pre-blended mix you cannot separate, soak for 3 days maximum as a compromise.
5 Common Mistakes to Avoid
Forgetting Water Changes
The single most common mistake. Leaving seeds in stagnant water creates anaerobic conditions that kill the seed. Change the water every 12 hours — you are flushing out germination inhibitors. This step is non-negotiable.
Over-Soaking Past the Chitting Stage
If radicles grow too long, seeds tangle into an unspreadable matted mass — this is unrecoverable. Stop soaking and plant at the first sign of tiny white root tips. For TTTF, never exceed 3 days. For KBG, 5 days is the sweet spot.
Skipping the Carrier Material
Wet seed clumps heavily and will clog any spreader. Always mix with a dry carrier (4 parts Milorganite or dry play sand to 1 part seed by weight) before spreading. Do a test pass on your driveway to check the pattern.
Letting Pre-Germinated Seed Dry Out After Planting
The activated embryo dies if it dries out even once. The exposed radicle has no protective seed coat anymore. Light, frequent watering (2-3 times daily for 5-10 minutes) for the first two weeks is essential — not optional.
Not Planning Your Seeding Day in Advance
Once radicles appear, seeds must go into the ground that day. There is no "hold" option. Check the weather forecast, prep your soil, and have your spreader ready before you start soaking. Work backward from your target seeding date.
Quick-Reference Cheat Sheet
Pin this to the wall in your garage. Everything you need to know at a glance.
| Spec | TTTF | KBG |
|---|---|---|
| Soak time | 1-3 days | 5 days |
| Water temp | 65-75°F | 65-75°F (68°F ideal) |
| Water changes | Every 12 hrs | Every 12 hrs |
| Use bubbler? | Optional | Recommended |
| Carrier ratio | 4:1 Milorganite:seed | 4:1 Milorganite:seed |
| Seeding rate | 6-8 lbs / 1,000 sq ft | 2-3 lbs / 1,000 sq ft |
| Best seeding window | Aug 15 - Oct 15 | Aug 15 - Sep 15 |
| Normal germ time | 7-14 days | 14-30 days |
| Pre-germ time | 5-10 days | 3-7 days |
| Time saved | 2-4 days | Up to 3 weeks |
| Worth it? | Sometimes | Almost always |
Frequently Asked Questions
How long should I soak grass seed for pre-germination?
It depends on the species. Tall Turf-Type Fescue (TTTF) needs 1-3 days, while Kentucky Bluegrass (KBG) needs a full 5 days. Always change the water every 12 hours and stop soaking as soon as you see tiny white root tips (radicles) emerging.
Do I need an aquarium air pump?
Not strictly, but it is highly recommended — especially for KBG. The bubble method keeps water oxygenated, prevents anaerobic conditions that kill seeds, and reduces mean germination time by about 10% for KBG. A basic pump kit costs $15-20 and is well worth the investment.
Can I pre-germinate a TTTF and KBG blend together?
You can, but separate soaks produce better results. KBG needs 5 days while TTTF only needs 1-3 days. The best approach is to start KBG soaking on Day 1 and add TTTF on Day 3, so both finish on the same day. If using a pre-blended mix, soak for 3 days maximum as a compromise.
What happens if I soak grass seed too long?
Over-soaking causes radicles to grow long and tangle into a matted mass that cannot be separated or spread — this is unrecoverable. The seed can also rot from anaerobic conditions if water is not changed regularly. Stop soaking and plant immediately at the first sign of white root tips.
Is pre-germination worth it for tall fescue?
It is marginally worth it. TTTF already germinates in 7-14 days normally, so pre-germination only saves 2-4 days. It is most valuable when seeding late in the fall window, repairing bare patches that need quick cover, or competing against fall weed germination. For KBG, pre-germination is almost essential — it can save up to 3 weeks.